DIY Spinners Made With Love; Alaska Coho Can’t Resist Them
Happy Valentine’s Day! Here’s a story of building coho salmon-teasing spinners with love. This runs in our February issue:
BY BRIAN KELLY
Long, cold winters are the perfect time to build up your coho lure selection for the upcoming season.
Creating your own spinner patterns can give you an edge by giving finicky coho a different look after they have seen all the same store-bought patterns during the season. Spinner components – from the blades to the bodies – are available in a wide range of colors, which will allow you to tweak color combos to create that must-have spinner during the peak of the run!
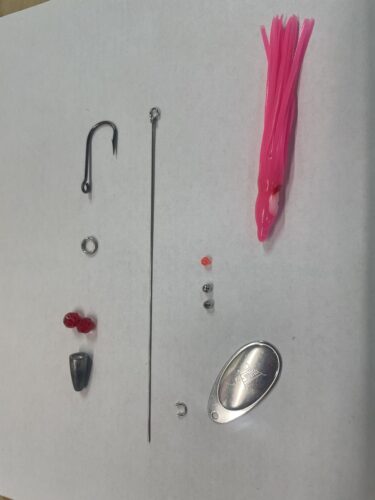
BASIC SPINNER CONSTRUCTION
Start the spinner building process with a 6-inch, .035-inch-diameter, looped- end stainless steel wire shaft. After playing with different gage wire over the years, I have found this size to be rugged enough to stand up to the abuse of mean coho without being too rigid, which doesn’t allow as much vibration from the spinner blade.
The looped end is where the build begins by adding a split ring and hook. While hook sizes and style can vary greatly, I tend to stick with a treble in the No. 1 to 1/0 size range for saltwater purposes and a single hook in the same size for flowing freshwater. Always check local regulations for any hook- size restrictions; the use of the split ring will allow for ease of hook style change if necessary.
From here, you can get creative with body styles and beads, but the important part of the spinner equation comes in at the top of the body. No matter what style spinner you are building, put a small plastic bead on the top of the body with a hollow metal bead stacked on top; this combination provides a smooth bearing surface for the clevis to rotate on. Place the spinner blade on the clevis and slide this on the shaft.
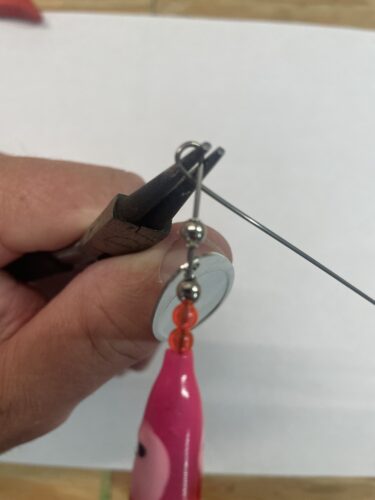
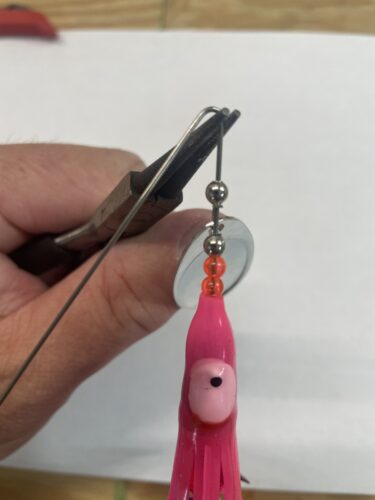
The final portion to the build is forming the eye. While there are forming tools available for this step, a pair of small, round nose pliers work just fine for the job. Start by grabbing the wire with the pliers about 3?8 inch above the top of the clevis. Then make the first bend over the top of the plier nose; this will become the top of the spinner eye when complete.
Next, continue to bend the wire around the top of the plier nose until you close the loop. Adjust the plier to hold the loop on the inside of the bend and then wrap the wire around the base of the eye three times and cut the excess wire snug to the eye loop.
The final step is to bend the eye loop if necessary to align the loop with the shaft (see accompanying pictures, below). When the eye lines up straight, the spinner will swim true!
THE SQUID SPINNER
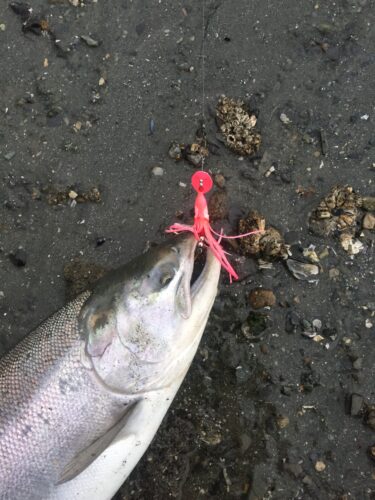
There are times when coho just want a bigger-profile lure, especially if they have been keying on herring for their food source. A squid-bodied spinner can be just the ticket in these situations, especially if you are targeting coho in the salt with the feedbag firmly secured.
The build process is pretty much the same as the basic spinner, but be sure to add several plastic beads behind the bullet weight or body to compensate for the added length of the squid skirt. The goal is to have the hook hanging far enough down the skirt to nab any short-striking fish. Try using a two-tone color scheme with the squid spinner, as this seems to be a consistent pattern for taking coho in the salt. While silver-plated blades are often recommended for most spinner builds, do not overlook painted blades, as these can often turn on a coho in low light conditions.
BRINGING IT ALL TOGETHER
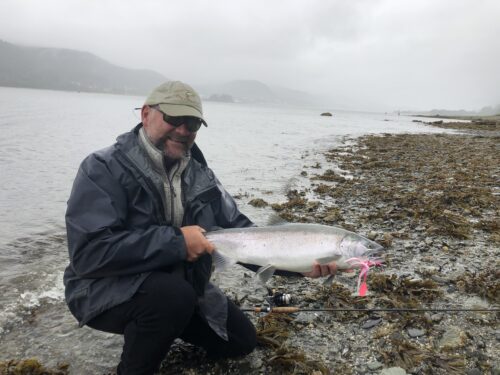
There is a great sense of satisfaction when that first fish eats a lure of your own design. Coho have a reputation for hitting anything that moves, but those who have spent enough time on the water to see the mood swings of Oncorhynchus kisutch know that it pays to have some custom lures and color schemes on hand for those tough bite days.
Spend a little time in the workshop this winter and build a spinner that a coho cannot resist! ASJ
BUILDING A SPINNER IN PICTURES
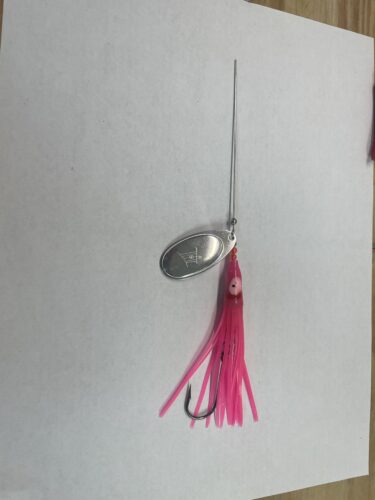
Here’s how to construct your own spinner for salmon:
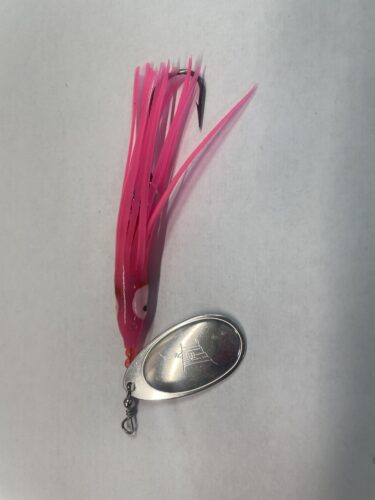
looped end, attach the split ring and hook. Note the hook placement – bend even with the end of the squid’s tentacles, not in the middle of the body. (BRIAN KELLY)

Alaska Salmon 2011: Not Too Shabby

Prime Time For Face Time At Sportsmen’s Shows